ADVERTISEMENT
Introduction:
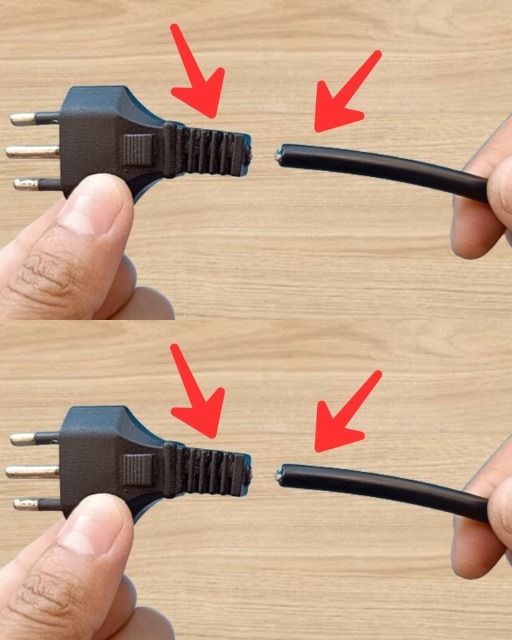
A broken plug can be frustrating, especially when you need your device urgently. Instead of buying a new cable or professional repair, you can fix it yourself using a few simple tools and a careful technique. This guide reveals the step-by-step process that few people know to restore your plug safely and effectively, saving you time and money.
Necessary Materials:
Cutter
Pliers
White marker
Soldering iron
Solder (tin)
Heat shrink tubing for cables
How to make:
Prepare the cable: Use the cutter to carefully strip the outer insulation from the cable, exposing the inner wires without damaging them.
Identify and mark wires: Separate the wires inside and use the white marker to label each wire to ensure proper reconnection.
Strip the wire ends: Strip a small section of insulation off the ends of each wire, preparing them for soldering.
Slide on heat shrink tubing: Before soldering, slide a piece of heat shrink tubing onto one side of the cable so you can cover the joint later.
Solder the wires: Heat your soldering iron and carefully solder corresponding wires together, making a solid electrical connection. Avoid cold joints by heating both wire and solder adequately.
Insulate the joint: Once soldering is complete and cooled, slide the heat shrink tubing over the soldered area and use a heat source to shrink it tightly around the wires, ensuring safety and durability.
Final assembly: Carefully reassemble any plug casing or connectors if applicable, making sure there is no strain on the repaired joint.
Serving and storage tips:
ADVERTISEMENT
