ADVERTISEMENT
Turn off the Lamp: Always ensure the lamp is unplugged or the power is turned off to avoid any electrical hazards.
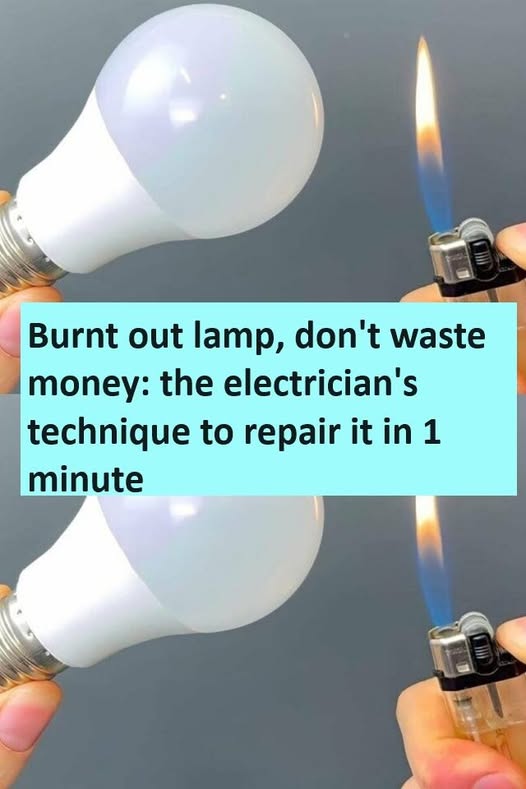
Inspect the Bulb Socket: Sometimes, the lamp socket itself may have some small areas where the bulb connection is weak or not fully touching. This can cause the bulb not to light even if it's not burnt out.
Use Aluminum Foil: Cut a small piece of aluminum foil (about the size of a small coin) or roll up a small ball of foil.
Place the Foil: Carefully place the foil inside the socket where the bulb connects. The foil should sit snugly between the base of the bulb and the socket to ensure a better connection.
Screw in the Bulb: Screw the bulb back in, pressing gently but securely against the foil. This will allow the bulb’s base to make proper contact with the electrical connectors.
Test the Lamp: Plug in the lamp or turn on the switch. If the issue was related to the socket connection, this simple technique should help the bulb light up again.
Why This Works:
The foil acts as a temporary conductor, helping create a better electrical connection between the bulb and the socket. If the bulb wasn't completely making contact, this small hack can often fix the issue without needing to replace the bulb or lamp.
Important Note:
This is a temporary fix and not recommended as a long-term solution. If you continue to have issues with the lamp not turning on or flickering, it may be time to replace the socket or consult a professional electrician. Always exercise caution when handling electrical components!
ADVERTISEMENT
